Monthly Press Tips (September 2018 ) HOW TO MEASURE AND ADJUST PARALLELISM BETWEEN THE SLIDE FACE AND TOP OF THE BOLSTER PLATE/PRESS BED
HOW TO MEASURE AND ADJUST PARALLELISM BETWEEN THE SLIDE FACE AND TOP OF THE BOLSTER PLATE/PRESS BED
Importance
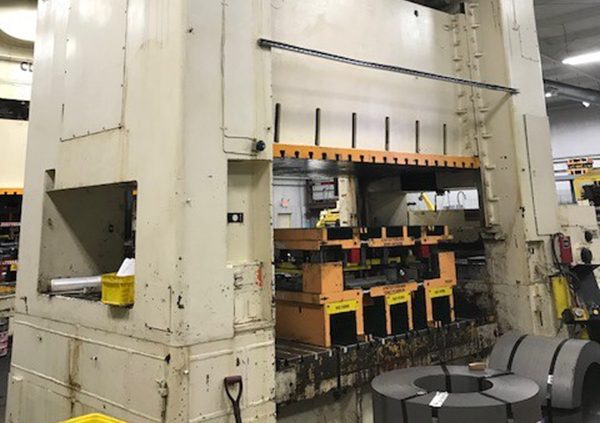
To maintain a profitable working relationship between the press and the die, parallelism is up most importance. The goal is to maintain a perfectly square and parallel die space within the press for the tool. On (2) point mechanical metal stamping press Left to Right parallelism is controlled by the adjusting screw drive. Front to rear parallelism is controlled by the slide guiding. There are other conditions that can affect left to right parallel, which we will discuss in later issues.
This month we will examine a step by step process to make the necessary adjustments to maintain die space parallelism.
Steps: Prior to beginning the process, remove the die from the machine and clean the top of the bolster plant and the face of the slide. Check the tightness of the bolster plate hold down bolts to ensure that the bolster is tight to the press bed.
- Under power cycle the machine several times. Adjust counterbalance pressure so that the slide is properly counterbalanced. See the August 2018 addition of Monthly Press Tips on our Blog Site at MECO.
- Rotate the machine to the 180 or BDC position in the stroke of the machine.
- Turn off the main motor and allow the flywheel to come to a full and complete stop. Insert the safety blocks into the die space.
- Measure between the bed/bolster plate to the face of the slide locating the measuring tools directly under the LH and RH upper connection assemblies. Record the findings from both sides.
- For purposes of our discussion today we will say that the parallelism between the slide face and bolster show a .030” difference left to right with the RH side high or greater than the LH side. The allowable tolerance for parallelism between the slide face and the bolster is .001” per foot of span in both the left to right and front to rear orientations. At this point do not worry about the front to rear readings, we will correct those later.
- It is recommended that the higher side of the slide always be lowered using the slide adjusting mechanism to bring the slide back into a parallel condition with the bolster plate. On a (2) point press with slide adjusting capability there will be a drive unit inside the slide assembly. Normally there will either be chains or driveshaft connecting RH and LH sides. In this case if the RH side of the slide is high we will need to adjust it downward to bring the RH and LH sides back into a parallel condition. Disconnect the LH side of the adjusting mechanism so that it does not move during adjustment. Place a dial indicator under the connection assembly on the RH and using the slide adjusting mechanism lower the slide on the RH .030” to bring the slide face back into a parallel condition with the bolster.
- Once parallelism has been obtained between the RH and LH side of the slide using the slide adjusting mechanism, reconnect the drive unit to both sides.
- Now it is time to measure and machine adjustments in the front to rear orientation.
- The first step is to take measurements on the center line of the press bed left to right running front to rear. Remember on a (2) point press: left to right parallelism is controlled by the adjusting screw drive and front to rear parallelism is controlled by the slide guiding system.
- For our discussion after taking measurements we find that the slide is out of parallel with the top of the bolster plate by .040” front to rear. You may need to loosen the gib bolts front to rear to allow for clearance to adjust the slide back into a parallel condition. Place a jack under the side of the slide that is low either in the front or rear of the machine. Place an indicator on the side of the slide opposite the jack. If the slide is .040” out of the parallel front to rear then you will need to use the jack under low side and watching the indicator on the opposite side move the low side up the slide up .020” or half of the .040” to bring the front and rear back to a parallel state. Once parallelism is obtained, now adjusting the gibbing to the correct clearance level. We will discuss how to adjust the gibbing clearances in our next issue in October 2018.


Leave a Reply
Want to join the discussion?Feel free to contribute!